使用Electron打包SpringBoot项目为exe文件
发布于 2023-02-21 | 作者: 小哈里 | 来源: CSDN博客 | 转载于: CSDN博客
1、问题背景
问题如下:
- 现在我们有一个springboot的项目,启动后可以在localhost:8080访问网站并使用网站提供的服务。
- 我们想要打包为windows下的可执行文件exe,即 exe会自动打开一个窗口访问到该网站。
使用说明:
- 请先将项目打包为jar,并确保可以通过java -jar即可启动该web服务
- 使用前请先用java -jar xx.jar测试该项目可以成功访问,一切正常。
2、Electron入门,使用electron打包静态页面或URL
什么是Electron?
- Electron是GitHub开发的一个开源框架。它通过使用Node.js和Chromium的渲染引擎完成跨平台的桌面GUI应用程序的开发。
Electron现已被多个开源Web应用程序用于前端与后端的开发,著名项目包括GitHub的Atom和微软的Visual Studio Code。 - Electron是大前端的重要组成部分。
如何安装Electron?
参考资料:
https://qii404.me/2019/07/10/electron.html
https://www.jianshu.com/p/a8a7820c8bfd
https://juejin.cn/post/6844904159104204814

node -v
npm -v
npm config set ELECTRON_MIRROR http://npm.taobao.org/mirrors/electron/ #淘宝源
sudo npm install electron -g --allow-root -unsafe-perm=true # 全局安装
electron -v  # 验证安装
使用electron-packager打包静态
安装electron-packager
一个用于打包electron应用的工具,只是打包成各个平台下可执行文件,并不是安装包
再全局安装 npm install electron-packager -g
打包静态:
参考资料:https://www.jianshu.com/p/a8a7820c8bfd
electron-packager . app --win --out presenterTool --arch=x64 --electron-version 1.0.0 --overwrite --ignore=node_modules
electron-packager . 可执行文件的文件名 --win --out 打包成的文件夹名 --arch=x64位还是32位 --electron-version版本号 --overwrite --ignore=node_modules(网上很多写法是--version 1.0.0 在高版本中的electron中,这个好像不行啦,必须要--electron-version这样写)
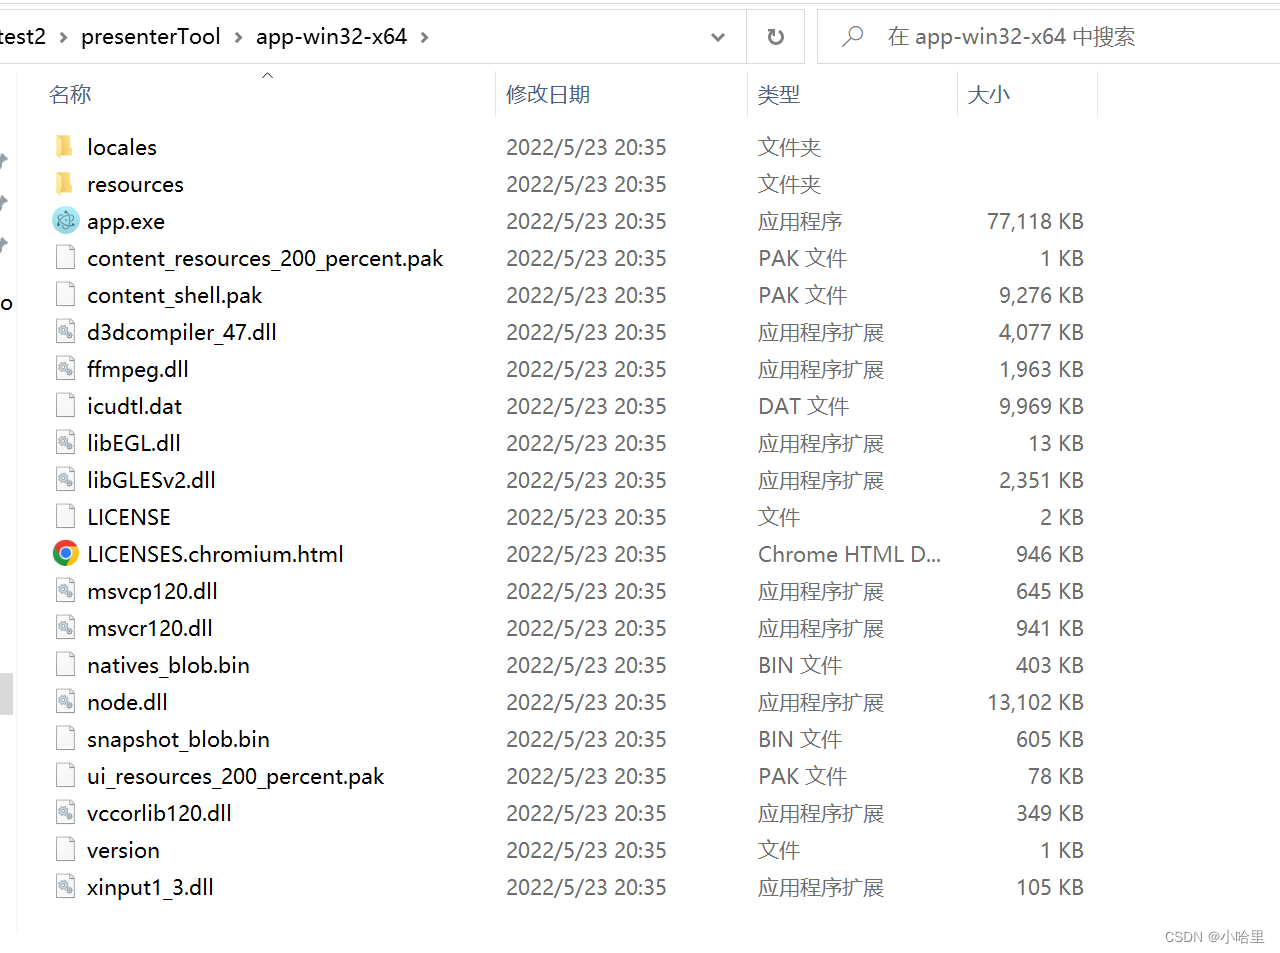
打包成功
会生成一个目录,然后打开这个目录,找到exe文件,打开即可。
打包成安装包:
https://www.cnblogs.com/kakayang/p/9559777.html 我们建立一个目录,放置三个文件
index.html
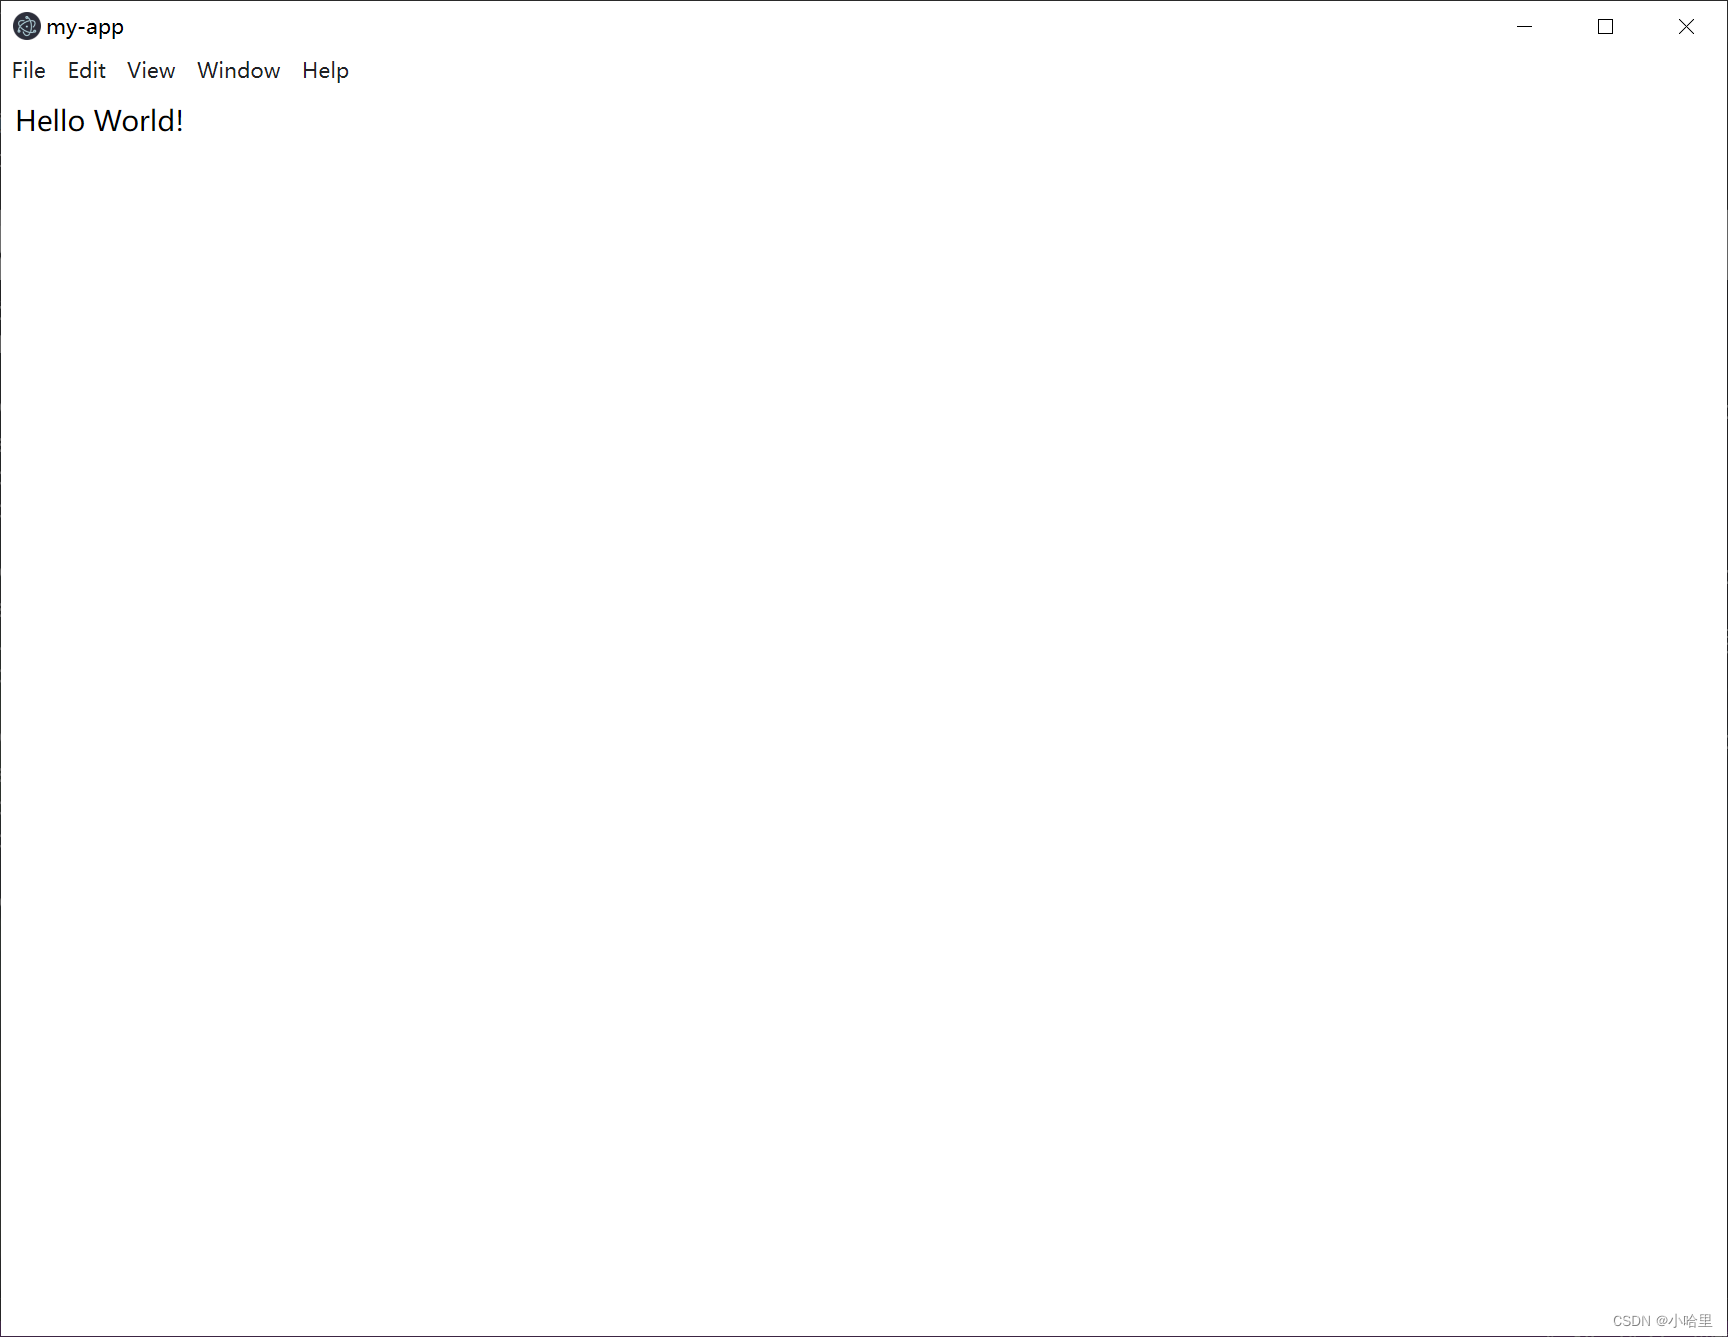
<!DOCTYPE html> <html> <head>my-app </head> <body> Hello World! </body> </html>main.js
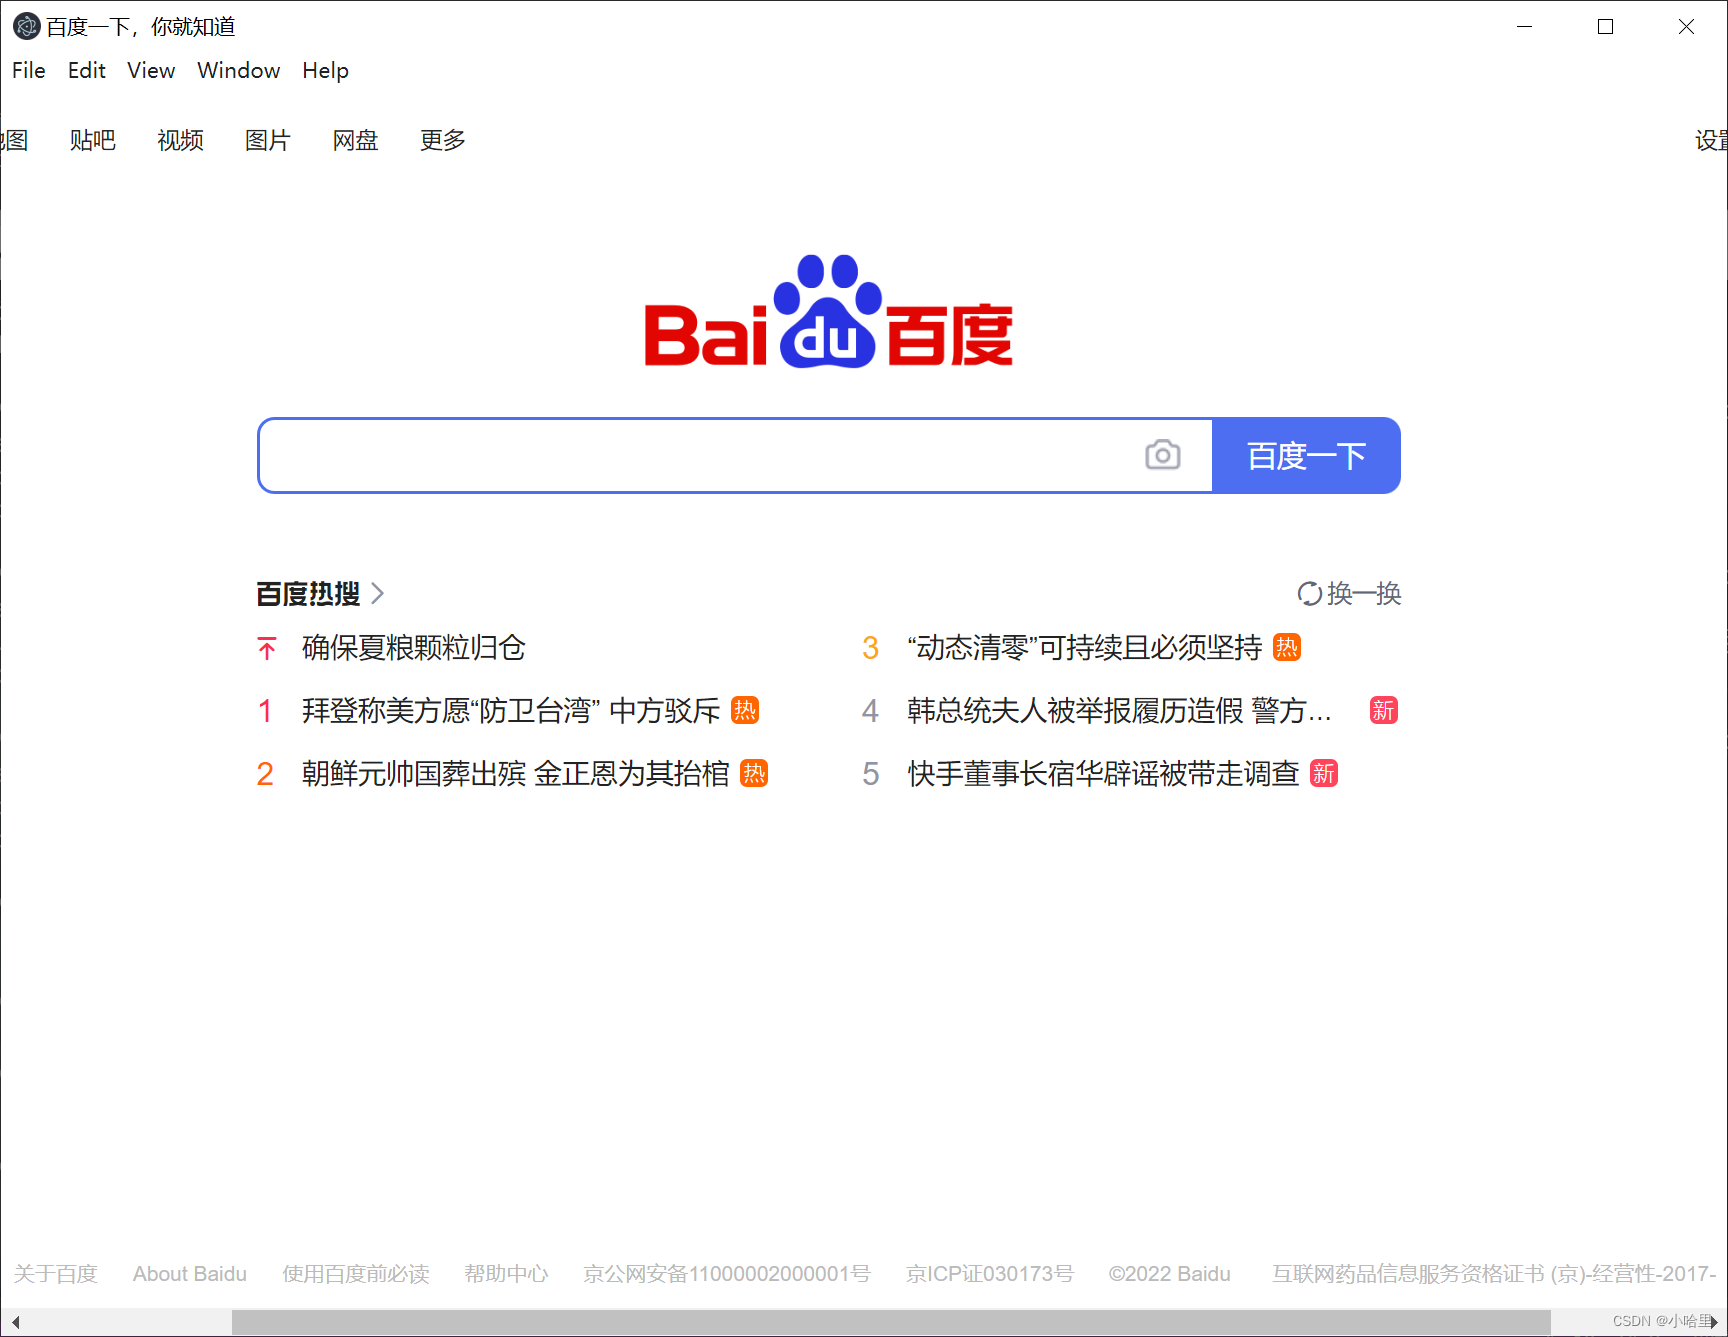
const {app, BrowserWindow} = require('electron') let mainWindow function createWindow () { mainWindow = new BrowserWindow({ width: 1000, height: 770, webPreferences: { // nodeIntegration: true } }) mainWindow.loadFile('index.html') // 改为使用loadURL加载微信网页版url地址 // mainWindow.loadURL('https://wx.qq.com/') // mainWindow.loadURL('https://baidu.com/') // mainWindow.loadURL('http://localhost:8080/') mainWindow.on('closed', function () { mainWindow = null }) } app.on('ready', createWindow)package.json
{ "name": "my-app", "version": "0.1.0", "main": "main.js", "scripts": { "start": "electron ." }, "devDependencies": { "electron": "^5.0.6" } }然后打开当前目录的终端使用如下命令:
electron-packager . app --win --out presenterTool --arch=x64 --electron-version 1.0.0 --overwrite --ignore=node_modules
就会生成一个可用的EXE文件
打包URL的方式是一样的,改一下main.js中的内容,使用加载URL方法即可
另外如果想不打包直接运行测试
可以在当前目录直接electron .即可。
3、electron-builder下载出错


网络报错1

挂在了打包 electron-builder上面
如果本地没有安装electron-builder,npm run dist时先加载依赖https://registry.npmmirror.com/binary.html?path=electron/ npm config set ELECTRON_MIRROR=https://npm.taobao.org/mirrors/electron/ npm install electron-builder网络报错2:

关于网络报错
https://segmentfault.com/a/1190000023314583

打包成安装包错误,下载不来winCodeSign
https://github.com/trazyn/weweChat/issues/26
https://github.com/electron-userland/electron-builder/issues/3492
https://github.com/electron-userland/electron-builder/issues/5668
https://blog.csdn.net/qq_32682301/article/details/105234408

macOS: ~/Library/Caches/electron-builder
Linux: ~/.cache/electron-builder
windows: %LOCALAPPDATA%\electron-builder\cache

@baochunliang
C:\Users\Administrator\AppData\Local\electron-builder\cache
路径下要先建winCodeSign,在把下载的winCodeSign-1.9.0整个文件夹放进去,nsis与nsis-resources同样操作就可以打包成功。
缺少jquery
jquery判断是否加载成功
https://www.html.cn/qa/jquery/15411.html

https://github.com/electron/electron/issues/28511
4、使用electron打包springboot
参考以下大佬的文章
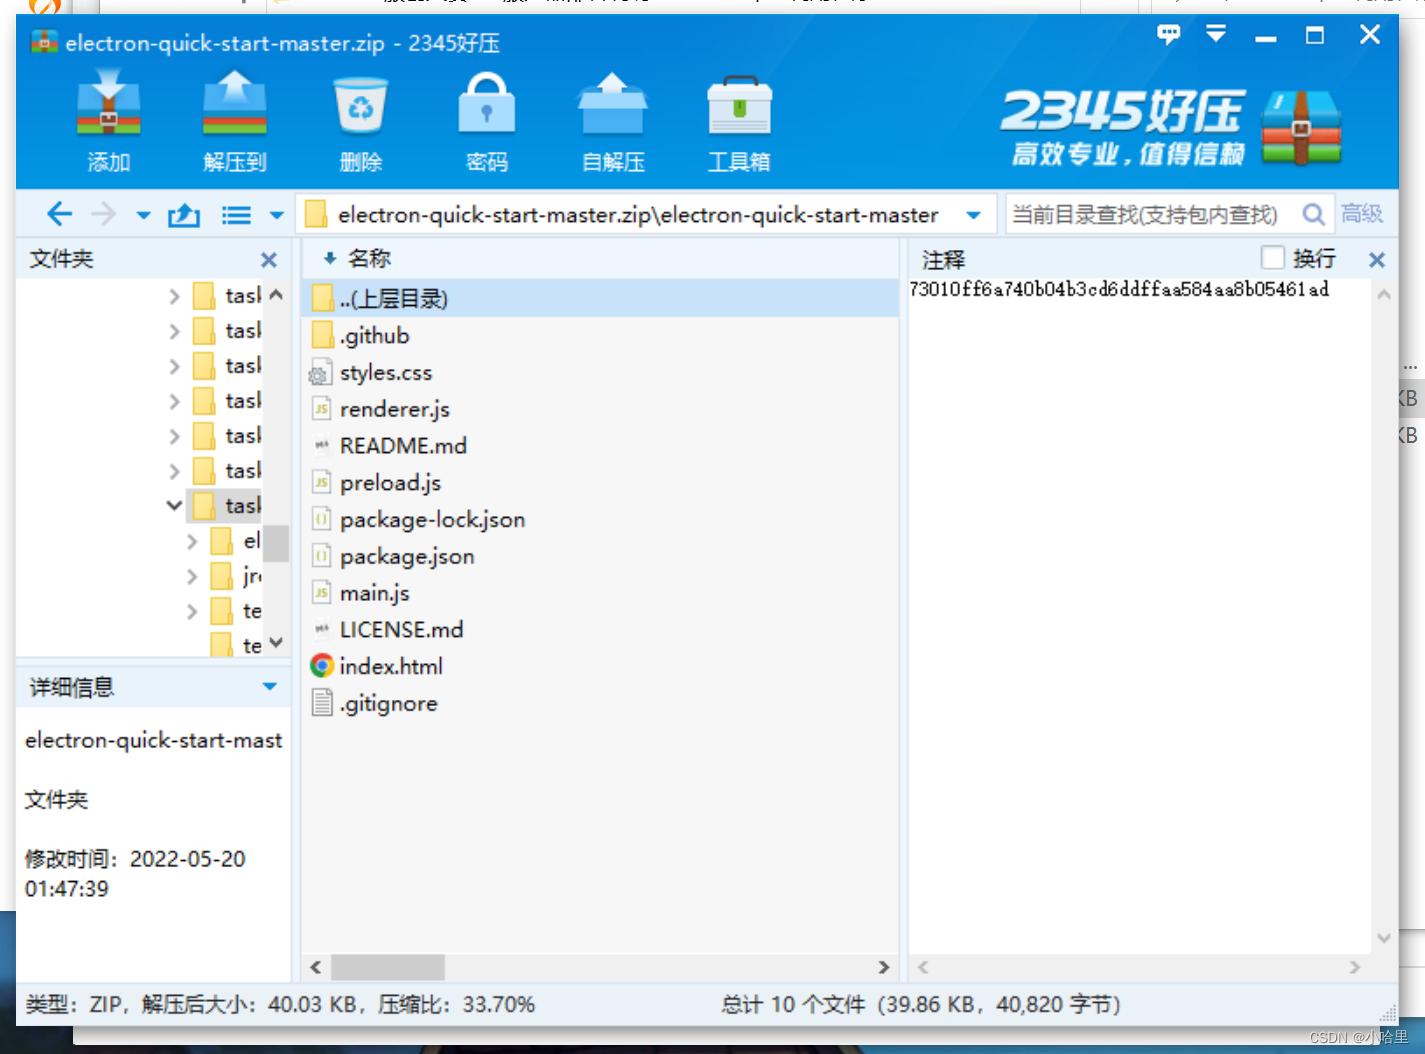
https://blog.csdn.net/fei565789229/article/details/120176038参考资料: 官方文档:https://www.electronjs.org/zh/docs/latest/tutorial/quick-start Electron入门指南 | 一篇文章看懂Electron封装网页并打包应用 :https://qii404.me/2019/07/10/electron.html electron打包桌面应用:https://juejin.cn/post/6844904159104204814 Electron打包exe的使用:https://www.jianshu.com/p/a8a7820c8bfd 关于 electron-builder 打包遇到的一点点问题:https://xie.infoq.cn/article/ee4b9adcc5a3be2d5678200ca 使用Electron14.0.0打包java web服务为exe-爬坑记录:https://blog.csdn.net/fei565789229/article/details/120176038首先是下载官方的electron-quick-start项目
https://github.com/electron/electron-quick-start
然后替换preload.js,修改main.js
preload.js
const { contextBridge } = require('electron')
const { spawn, exec } = require('child_process')
const path = require('path')

contextBridge.exposeInMainWorld('myAPI', {
  startServerForSpawn: () => {
    let path1 = path.join(__dirname, 'app/ruoyi-admin.jar');
    const ls = spawn('java', ['-jar', path1]);
    ls.stdout.on('data', (data) => {
      if(data.toString().indexOf("Started RuoYiApplication") !== -1){
        window.location.href="http://localhost:80";
      }
    });
    ls.stderr.on('data', (data) => {
      console.error(`stderr: ${data}`);
      alert("启动服务异常");
    });
    ls.on('close', (code) => {
      console.log(`child process exited with code ${code}`);
    });
  },
  startServerForbat: () =>{
    const bat = spawn(path.join(__dirname, 'my.bat'));
    bat.stdout.on('data', (data) => {
      console.log(data.toString());
      if(data.toString().indexOf("Started RuoYiApplication") !== -1){
        window.location.href="http://localhost:80";
      }
    });
    bat.stderr.on('data', (data) => {
      console.error(data.toString());
    });
    bat.on('exit', (code) => {
      console.log(`Child exited with code ${code}`);
    });
  }
})
main.js
// Modules to control application life and create native browser window
const {app, BrowserWindow} = require('electron')
const path = require('path')

function createWindow () {
  // Create the browser window.
  const mainWindow = new BrowserWindow({
    width: 800,
    height: 600,
    webPreferences: {
      nodeIntegration:true,
      contextIsolation:true,
      preload: path.join(__dirname, 'preload.js')
    }
  })

  // and load the index.html of the app.
  mainWindow.loadFile('index.html')

  // Open the DevTools.
  // mainWindow.webContents.openDevTools()
}

// This method will be called when Electron has finished
// initialization and is ready to create browser windows.
// Some APIs can only be used after this event occurs.
app.whenReady().then(() => {
  createWindow()

  app.on('activate', function () {
    // On macOS it's common to re-create a window in the app when the
    // dock icon is clicked and there are no other windows open.
    if (BrowserWindow.getAllWindows().length === 0) createWindow()
  })
})

// Quit when all windows are closed, except on macOS. There, it's common
// for applications and their menu bar to stay active until the user quits
// explicitly with Cmd + Q.
app.on('window-all-closed', function () {
  if (process.platform !== 'darwin') app.quit()
})

// In this file you can include the rest of your app's specific main process
// code. You can also put them in separate files and require them here.
替换package.json
{
  "name": "electron-quick-start",
  "version": "1.0.0",
  "description": "A minimal Electron application",
  "main": "main.js",
  "scripts": {
    "start": "electron .",
    "package": "electron-packager . construction --win --out build --arch=x64 --version1.0.0 --overwrite --icon=static/images/128.ico",
    "dist": "electron-builder --win --x64",
    "win32": "electron-builder --win --ia32"
  },
  "repository": "https://github.com/electron/electron-quick-start",
  "keywords": [
    "Electron",
    "quick",
    "start",
    "tutorial",
    "demo"
  ],
  "author": "GitHub",
  "license": "CC0-1.0",
  "devDependencies": {
    "electron": "^14.0.0",
    "electron-builder": "^23.0.3"
  },
  "build": {
    "appId": "com.phil.test",
    "copyright": "https://github.com/phil-cheng",
    "productName": "PDF_TO_EPUB",
    "asar": false,
    "mac": {
      "target": [
        "dmg",
        "zip"
      ]
    },
    "win": {
      "target": [
        "nsis",
        "zip"
      ],
      "icon": "static/images/256.ico"
    }
  }
}
新建两个html
index.html<!DOCTYPE html> <html> <head>index </head> <body> <!-- We are using Node.js , Chromium , and Electron . <script> document.getElementById("p1").innerHTML = "Hello world!"; document.getElementById("p2").innerHTML = 10+20; </script> <script src="./static/js/jquery.min.js"> </script> <script> $(document).ready(function(){ alert('dom加载完成'); }); </script> --> <script src="./static/js/jquery.min.js"> </script> <script> $(document).ready(function(){ $.ajax({ timeout: 200, type: 'GET', url: 'http://localhost:8080', data: { }, success: function(obj){ window.location.href = "http://localhost:8080" }, error: function(obj){ window.location.href = "loading.html"; } }) }) </script> </body> </html>loading.html
<!DOCTYPE html> <html> <head>loading </head> <body>Loading
正在启动,请等待!<script> window.myAPI.startServerForbat(); console.log("-----------hello-------------") </script> </body> </html>新建app和jre文件夹,新建bat脚本
my.bat脚本:cd ./jre/bin java -jar ../../app/admin.jarapp文件夹中放置打包好的jar文件
jre文件夹中放置可以运行的jre环境最后使用以下命令打包:
npm run dist